


| How long will it take? | How much will it cost? | What’s the difficulty level? |
| 30 minutes | Free | Moderate |
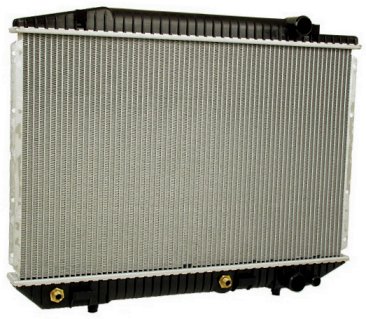
When it comes to the removal and replacement of radiators, many car owners simply resign themselves to the fact that this is a job for professionals, before booking their vehicle into a garage. However, did you know that removing a radiator is actually a job that can be done without the need for a mechanic?
In fact, with the right amount of patience, the removal of your car radiator is a relatively easy job – you just have to move a few bits out of the way before the actual removal.
Essential info: Please leave your vehicle to cool completely before attempting to remove/replace the radiator.
1. Remove the front engine cover and air ducts
2. Remove the under body trays
3. Drain the radiator
4. Remove the overflow hose from the clips that you’ll see along the front of the shroud
5. Using a flat head screwdriver, release the quick release clip from the thermostat to the radiator and wriggle the hose out
6. Using a flat head screwdriver again, release the quick release clip and pull the upper section of the hose from the water pump to the radiator
7. Remove the radiator fan
8. Now, you should see two lines running to the transmission cooler
9. It’s now time to remove these lines, but be sure to not get any contaminants into them. Please note – you will lose some fluid doing this, so be sure to catch and dispose of it correctly, and refill it once done.
10. Remove the front grille, to enable you to reach the connection between the radiator and the condenser.
11. Pull back the rubber air dam and squeeze the release tabs on either side of the radiator. This will allow you to push the the top of the radiator back off from the condenser.
12. If you look under the vehicle you’ll see that the radiator is connected to the condenser in three areas, as well as sitting in rubber grommets on the frame. Release the lower clips and slide the radiator back in the direction of the engine.
13. Tilt the radiator back and pull it out of the engine bay completely.
Featured Image Credit: AutoHausaz