


Whether your vehicle is just looking a little old and weather-beaten and you want to give it a new lease of life, or you’re thinking about getting it sold and hoping to raise its value, there are a number of things you can do to improve its appearance.
Arranging a valeting service can get very expensive – particularly if you’re going to be doing it regularly. Valeting and detailing are rewarding tasks you can easily undertake yourself, so why not save a little money and follow Dronsfield’s handy guide as we list our top home valet car cleaning tips.
Step 1: Gather Your Equipment
Here are the things you’ll need:
- – A hose
- – Bodywork cleaning solution
- – Car Wax
- – All-purpose indoor cleaner
- – At least two buckets
- – Two good wash mitts
- – A few microfibre cloths
- – One large and two small stiff bristled brushes (the small ones could be new toothbrushes)
- – Interior car shampoo (be sure to choose the right type for your seats!)
- – A soft towel (if it’s new, wash it first or it will shed)
- – A vacuum cleaner
- – Glass cleaner
Make sure that you have quick access to warm water. Choose a day when the weather is just right. Rain can, of course, make cleaning difficult and will wash away specialist liquids before they’ve had a chance to take effect. Sun can cause problems too – when the weather is excessively hot, cleaning fluid can dry too fast, causing streaks.
Taking all mats and other removable accessories from the inside of the car before you start is a good move, as they’re usually loaded with dust and debris that may find its way onto your bodywork if you remove them part-way through.
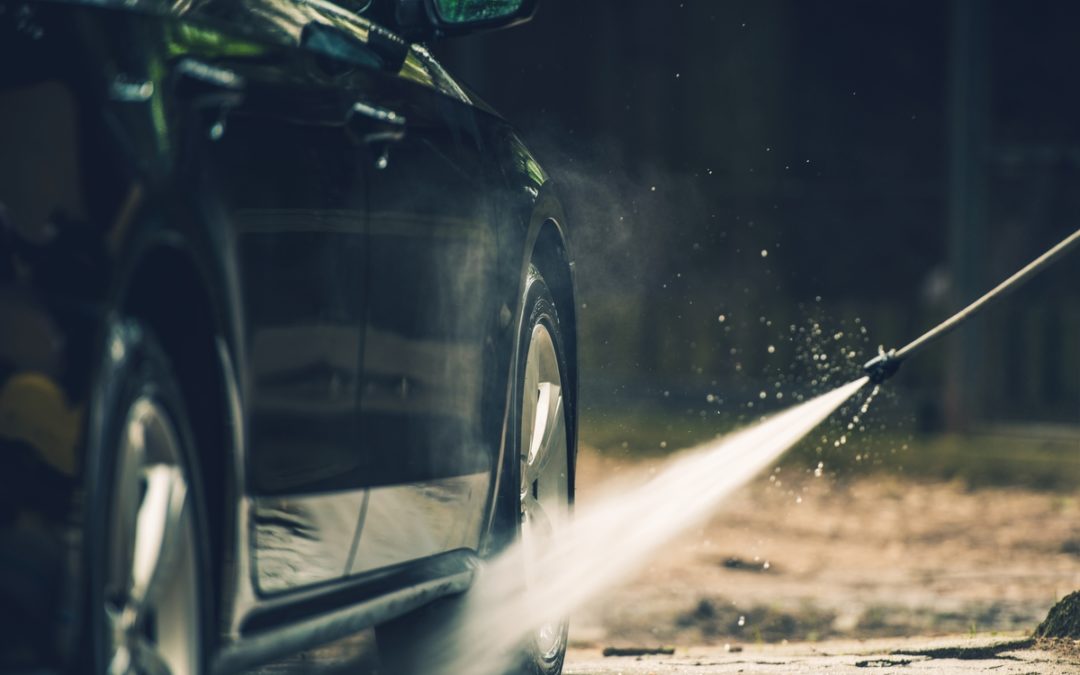
Step 2: Rinse

It’s actually best to start with the wheels, as they’re often the parts that collect most dirt – which can then accidentally be flicked onto the bodywork. Hose wheels and tyres down first, blasting off the worst of the muck, then get into the nooks and crannies with both the large brush and one of the smaller brushes.
Hose everything down again, then polish surfaces with a microfibre cloth (it might be a good idea to discard this one once the wheels are done – or even swap it out part-way through if this area is particularly filthy).
Next, you should take on the roof and bonnet. Use the hose first, if it’s very dirty, then a bucket full of warm water mixed with a good bodywork cleaning fluid, as this will loosen anything that’s caked on. Spread the water on and let it sit briefly (don’t let it dry!), then use a microfibre cloth to massage it around.
Now, with a fresh bucket of warm water and cleaning fluid, start to take on the windows. Use a microfibre cloth for this too to prevent scratches. Pay special attention to the sills, as they can really pick up dirt. You should do your doors after this point, as the dirt from the sills will run down the side of the car.
Now go over everything once again very gently with a wet mitt loaded with warm water and cleaner, then hose it all down before streaks can form.
Step 3: Clean Your Glass

Grab your glass cleaner and a new microfibre cloth, and carefully start on the windows and mirrors. Be sure to remove every bug, cobweb and dust smear, changing cloths partway through if you need to.
Step 4: Prepare For Waxing
Before you begin with the wax, you should first dry the car thoroughly and gently with the towel, being sure not to cause scratches. If the car dries on its own, the paintwork will become streaky.
Step 5: Wax

Using a specialised applicator, apply the wax to a small area at a time to avoid it drying and smearing. You should use small, circular motions, then leave it to rest for just a few minutes, being sure that it doesn’t dry out. Then carefully remove it with a microfibre cloth.
Step 6: Don’t Forget the Interior

If you haven’t already removed your interior mats and other accessories, you should do so carefully at this point. Take them well away from your vehicle and give them a good beating to shake off any excess dust and fluff, then use a good vacuum cleaner to remove the rest.
You can hose down rubber mats, or, if they’re fabric, rub in a mixture of laundry soap and baking powder, which you can then scrub off gently with warm water and a clean brush.
While your mats are drying, you can push all of your seats right back and go round every little nook and cranny inside your vehicle with the vacuum cleaner. Remember the parcel shelf (removing it to clean separately) and the inside of the boot.
Polish the insides of the windows carefully, and don’t forget your air vents, as they collect dust. Use a clean toothbrush for this.
Use a microfibre cloth to go round door handles and other hard surfaces with all-purpose cleaner, then use either interior shampoo (for fabric) or leather cleaner (for leather) to clean off seats. You can just wipe the leather cleaner off, but shampoo should be left to dry then carefully hoovered up.
That’s the end of our car valeting tips; your vehicle should now look like it’s just rolled off the production line! You can repeat this process on a weekly basis, though you only need to use wax on your bodywork every six months or so.